 Sizu
You have a small LED, a 5 volt USB supply and a drawer of resistors. Connect the LED straight to the supply and it will pass far too much current, get hot, and usually die. The fix is one resistor in series, and choosing it takes one subtraction and one division.
Here is the whole job, with numbers you can check on a calculator. (This stays at low voltage: a 5 V USB supply, nothing from the wall socket.)
Step 1: find where the volts go
In a simple series circuit the supply voltage is shared between the parts. Our LED needs about 2.0 V across it to light (look for this “forward voltage” in its datasheet). It differs by colour: red LEDs are often near 2 V, while blue and white ones need noticeably more, so never copy someone else’s resistor without checking your own LED. If you cannot find the datasheet, measure it or ask the seller, because the whole sum rests on that one number. Whatever the LED does not use, the resistor must take:
5 V − 2.0 V = 3.0 V across the resistor.
Step 2: pick the current, then divide
Suppose this LED is rated for at most 20 mA and you want a comfortable 15 mA, which is still bright. Ohm’s law says resistance is volts divided by current. Use milliamps carefully: 15 mA is 0.015 A.
R = 3.0 V ÷ 0.015 A = 200 Ω.
Step 3: you cannot buy 200 Ω, so choose
Resistors come in a standard series of values. The common E12 series has 100, 120, 150, 180, 220, 270 and so on, and 200 is not in it. You have two neighbours, and you need to know what each one does to the current. Rearrange Ohm’s law: current = volts ÷ resistance.
- 180 Ω: 3.0 ÷ 180 = 0.01667 A = 16.7 mA. Slightly above target.
- 220 Ω: 3.0 ÷ 220 = 0.01364 A = 13.6 mA. Slightly below target.
- For comparison, 150 Ω gives exactly 20.0 mA, right at the LED’s rated limit, and 270 Ω gives 11.1 mA.
Both neighbours are within the 20 mA limit, so the choice is about margin. Round the resistance up. A larger resistor can only make the current smaller, so you stay on the safe side. The price you pay is a little less light: 13.6 mA instead of 15 is roughly 9 percent less current, and your eye will barely notice, because the eye judges brightness on a rough scale.
Real parts vary: the voltage across the LED shifts with temperature, supplies are not exactly 5.00 V, and resistors have a tolerance (often 5 percent). If the real resistor is 5 percent low, 220 Ω becomes about 209 Ω and the current climbs to roughly 14.4 mA, still fine. Starting with a rounded-up value leaves room for that.
Step 4: check the resistor does not cook
A resistor turns the volts it drops into heat. Power is volts times current: 3.0 V × 0.01364 A = 0.041 W, about 41 mW. A common small resistor is rated at a quarter of a watt (250 mW), so this one runs cool. Always check, because the same circuit on a higher voltage or with a bigger current can need a heftier part.
What if the LED stays on all day?
A 13.6 mA LED left on for 24 hours uses 13.64 × 24 = 327 mAh. On a USB supply that is nothing to think about. On a battery it is a lot: a battery that holds 2,000 mAh would run only that LED for about 2000 ÷ 13.6 = 147 hours, a little over six days. That is why battery projects blink a light briefly instead of leaving it on, and why the next sum a maker learns is “current multiplied by the time it is connected”.
Rule of thumb
Resistor = (supply volts − LED volts) ÷ the current you want. Then buy the next value up. Check the actual current with volts ÷ the resistor you really bought.
Try it with your own numbers
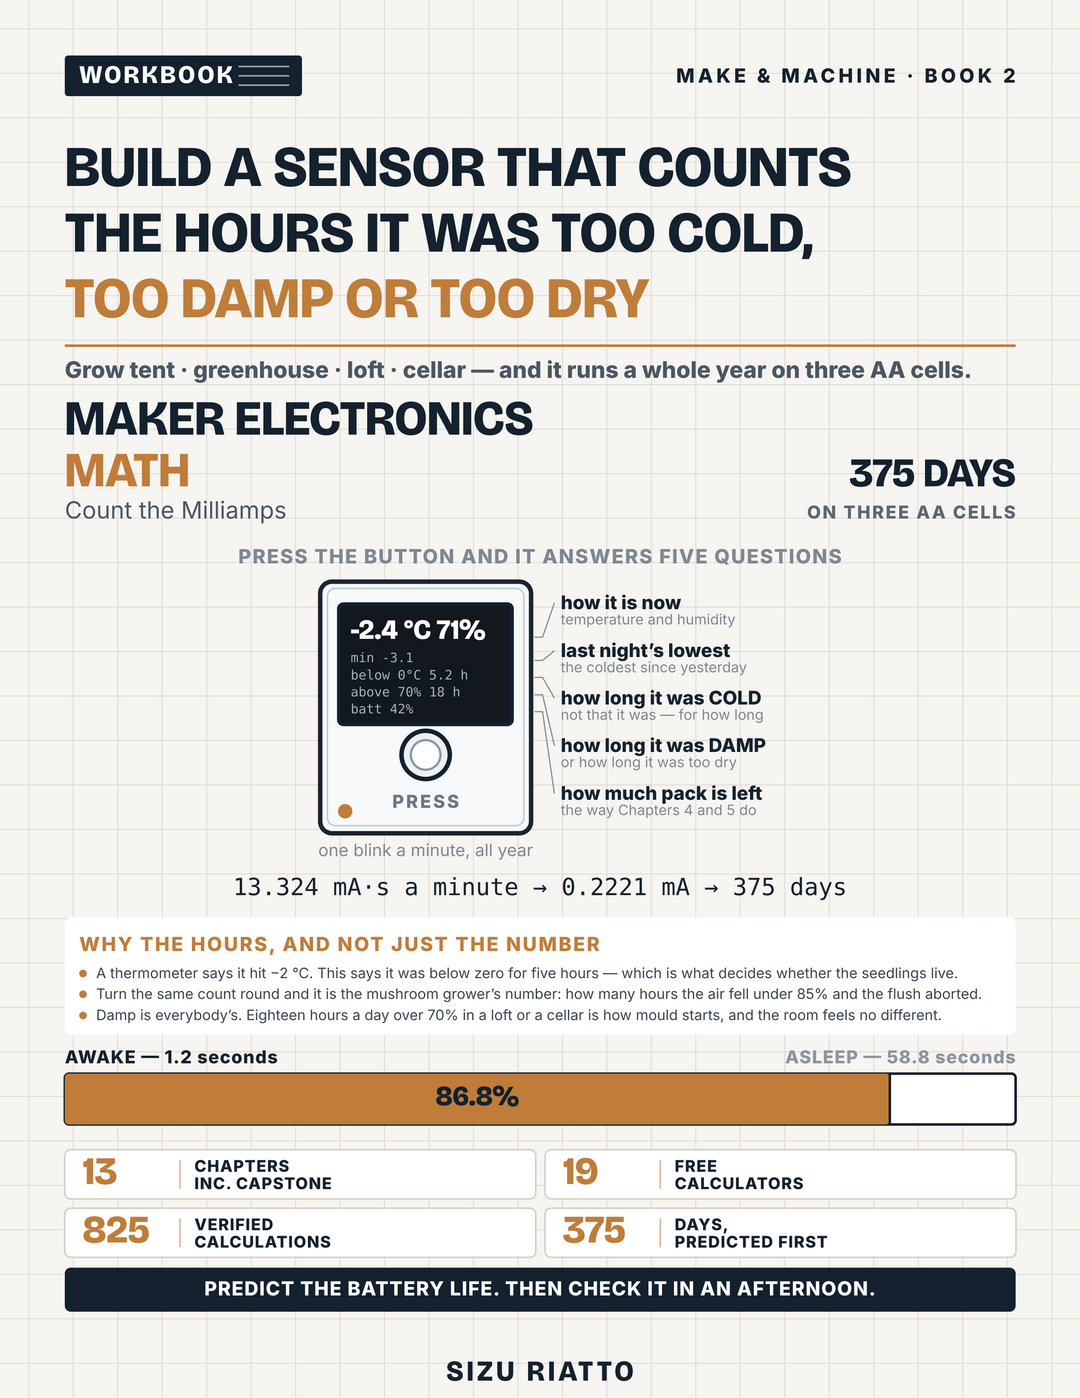
The free LED Resistor & E12 Value calculator gives the resistor to fit, the one you can buy, and the current you really get. It comes from Maker Electronics Math, which, according to its book page, works one sum (what a thing draws, multiplied by how long it is connected) through thirteen parts of a real battery-powered project.
This is arithmetic for planning a low-voltage project, not a safety guide. Check each part’s datasheet and keep away from mains electricity.